I fell in love with those Mini Maggies the first time I saw one ages ago on Claudia Rosa's blog. I then spent lots of time figuring out how to "mini-size" my images. I turned to shrink plastic! But now that mini's are readily available at Magnolia Stamps, no need for the plastic anymore.
Some of my very favorite Tilda images are the ones where she is dressed up as a ladybug, butterfy, and bee. Reminds me so much of spring when all of bugs in real life start showing up again. It has been in the 80s/90s the last few days here in Missouri and we are starting to see the flowers bloom. Won't be long until the butterflies, ladybugs, and bees are back.

For the first time, I tried layering prismacolor pencils over the top of my copics. For the most part I like how the coloring turned out. The were super bright initially but I decided that they all needed a coat of Glimmer Mist. And, if one coat was good, two should be great, right? NOT....the second coat really muted the colors. I won't do that again. But one coat worked well. If you look at the picture at the very bottom of this post you will see this round of magnets with some of my very first magnets and you can definitely tell a difference in the brilliance of the colors.

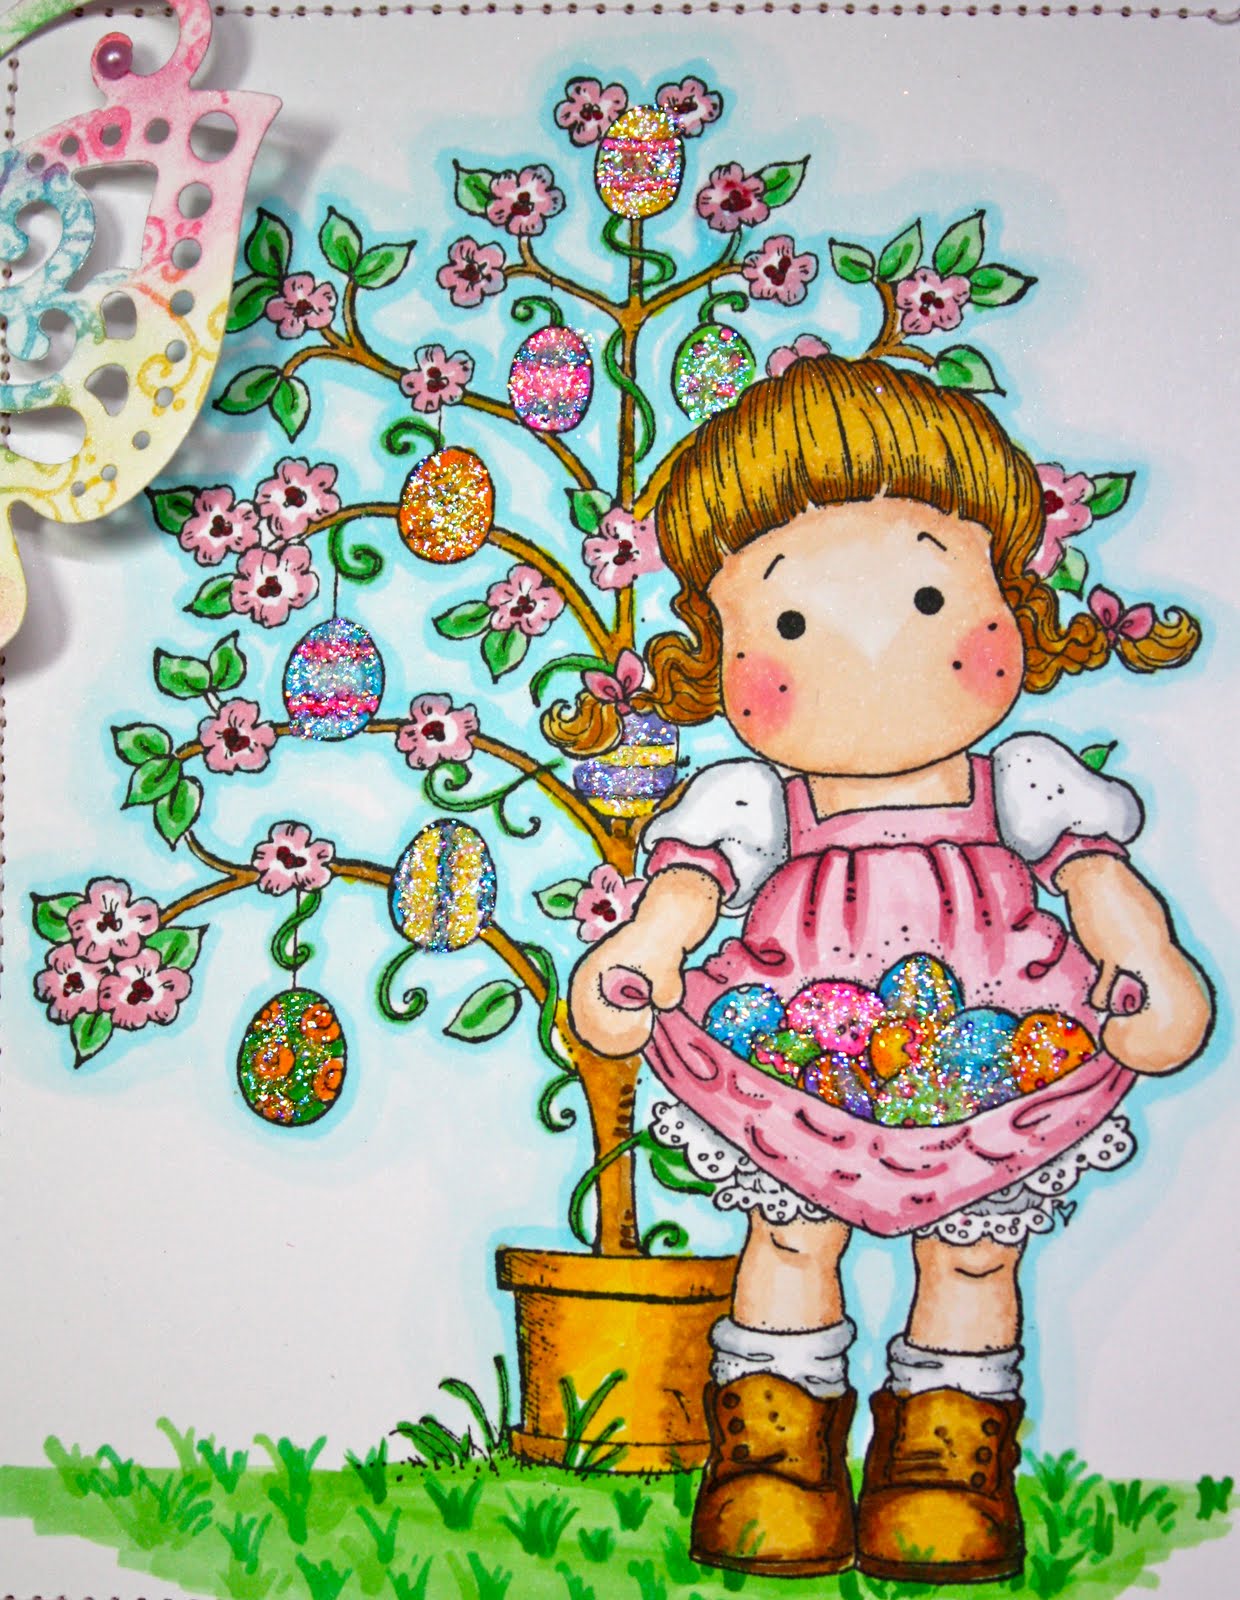
The Tilda as a Bee above was colored with C1, C3, C5, and C7 copics. I have seen her done with the warm greys as well as she is really cute either way. I chose to use the cool greys since I tend to pick cooler colors for most of my artwork.

And, of course the little Tilda below on the left reminds me of how I celebrate when spring is here. I get so tired of the cold and snow. So, I feel as happy as she looks when the warm weather comes back!

I was asked how I made these magnets so I thought I'd share a bit about that. First you start with a piece of 5 ply 1/4" Baltic Birch plywood. I got this piece at a hobby shop. Next, I stamped and colored my Mini Maggie images. I then glued the images to the plywood using Aleene's Tacky Glue. Paint the glue on like you are painting the wood so that it is evenly coated. Press the images onto the wood and make sure you push out any air bubbles. (You can see here how vibrant the colors were before I glimmer-misted). Let dry at least overnight.

Once the glue is dry, I then paint the back of the plywood with three coats of white acrylic paint, sanding between coats. The paint seems to raise up fibers in the wood which is why I sand between coats and after the final coat (lightly). Then, I cut the images out using a scroll saw and sand the edges of the wood pieces with a Dremel tool fit with a sanding tip. Then I sand the edges of the paper again so that they are even with the wood (the Dremel doesn't really sand off paper well).

I apply three coats of white paint to the sides of the magnets using a small brush, again sanding as needed. And finally, I adhere a magnet to the back using superglue. The fronts can be embellished with glimmer mist, stickles, etc. If you like, you can spray the front with a triple-thick gloss spray which will protect the paper on the front of the magnet. (These have not been sprayed).

Definitely not a quick or cheap project considering all of the tools involved, but if you are lucky enough to have access to these tools, it sure is a fun way to see your Maggies every day! I'm thinking about making some into small Christmas ornaments for a tiny lighted tree I got half-price after the holidays this year. Maybe some new Magnolia stamps will show up under my Magnolia Christmas tree next Christmas!
And finally, here are all of this round of magnets along with eight from the first try. Notice how much brighter the ones on the right are (only a light spritz of glimmer mist on those).

Have a wonderful day!
white paper: Beckett Expression Cover from Marcos Papers
coloring: copics/prismacolor pencils
glimmer mist: Iridescent Gold
tools: DeWalt scroll saw, Dremel tool
magnets: Michael's
acrylic paint: Delta